How To Make Coffee With a Stovetop Percolator Craft Coffee Guru
Wrap-around Filters. Easy to use: Just wrap it around the coffee grounds. Affordable: Won't break the bank. Single-use: Yep, you gotta toss 'em after one brew. Not eco-friendly: Mother Earth won't be thrilled. Expert Tip: If you're in a pinch, a wrap-around filter is your quick fix.
Master the Art of Using a Camping Coffee Percolator Take The Truck
Explore this 4.2-mile loop trail near Solymár, Pest. Generally considered a moderately challenging route, it takes an average of 1 h 55 min to complete. This is a very popular area for hiking, mountain biking, and running, so you'll likely encounter other people while exploring. The trail is open year-round and is beautiful to visit anytime.

CAJMERE PERCOLATOR HD YouTube
Use coarse coffee grounds. Use paper filters in addition to the permanent filter. Wet the coffee basket before adding grounds. Throughoughly clean the percolator before use. Using one or more of these methods when you percolate coffee is sure to help keep the grounds out of your morning cup.
How To Use A Percolator To Brew Coffee • New Life On A Homestead
1. Use Coarse Coffee Grounds. When brewing coffee in a percolator, use coarse coffee grounds instead of fine ones. Coarse grounds are less likely to slip through the metal filter of the percolator, ensuring a smooth and sediment-free cup of coffee.Fine grounds can clog the filter and result in a bitter and gritty brew.So, always opt for a coarser grind when preparing coffee for your percolator.

Used Wet Used Coffee Grounds in a Coffee Percolator Funnel Stock Photo
2. Best Colombian coffee for the percolator (Eight O'Clock Coffee 100% Colombian Peaks & Arabica, Medium Roast) 3. The best pre-ground coffee for the percolator (Fresh Roasted Coffee, Costa Rican Tarrazu, Medium Roast, Kosher, Ground) 4. Medium roast coarse ground coffee for the percolator (Tim Hortons Coarse Grind Original Blend) 5.
The 3 Best Stovetop Coffee Percolators Delishably
Brew Time. Another big difference between percolator coffee vs drip is the brew time. Since drip coffee relies on gravity to drip through the grounds and filter, it takes a bit longer for all the water to make its way through - about 5-10 minutes (depending on how much you're making). In contrast, percolator coffee requires you to cycle.
Here’s Our Top 5 Best Percolator Revealed Crazy Coffee Crave
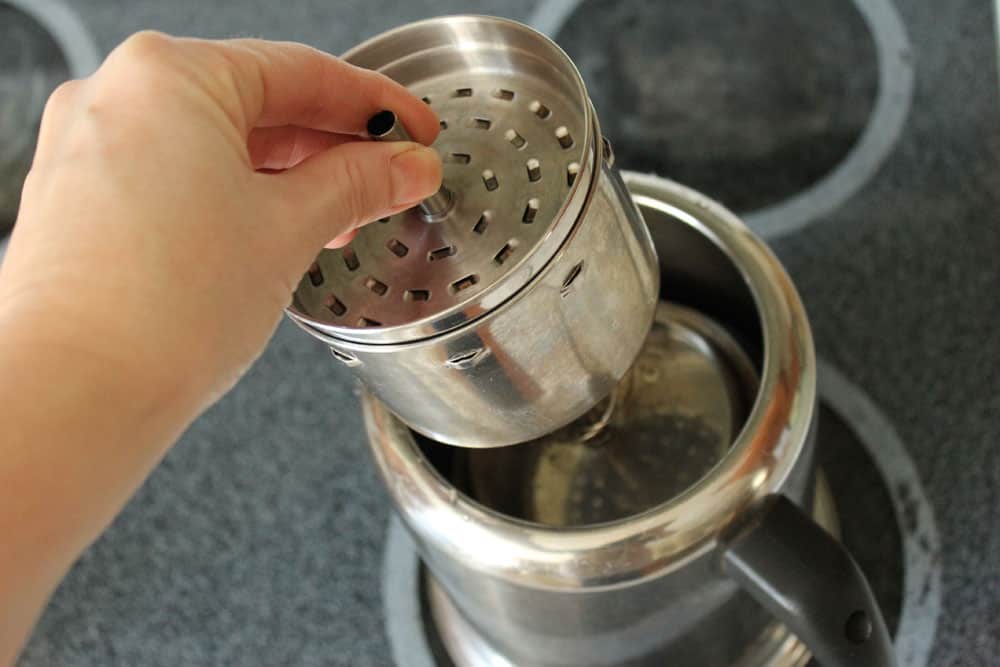
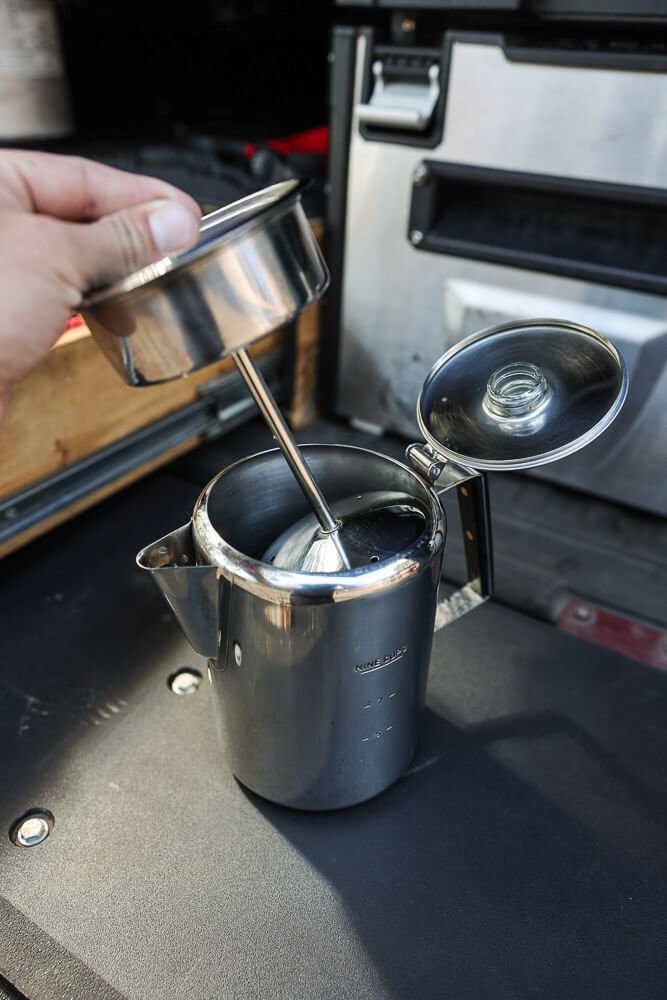
Grind the beans to a medium-coarse consistency—similar to the consistency needed to brew an espresso shot. 2. Boil water in a separate kettle. Then add the boiling water to the base of the percolator. 3. Fill the filter basket with the coffee grounds. Give it a little shake to evenly distribute the grounds.
How to Use a Percolator
As per above, coffee percolators, be they stovetop or electric, do not need a filter in order to make great coffee. A filter is recommended, even a metal one, to eliminate tiny coffee particles from making their way into the brew and your cup of coffee. In my own opinion, metal filters are best as you will get a full-bodied cup of coffee.

How To Use A Percolator To Make Coffee On A Stovetop
Step 5: Remove It From The Heat and Discard The Grounds. Remove your percolator from the heat, be extra careful because it's going to be hotter than h-e double hockey sticks. Remove the lid and discard the used coffee grounds. If you can let the coffee sit for a couple of minutes.

How Does a Percolator Coffee Pot Work? ColettiCoffee
3) Folgers Gourmet medium-dark roast. View on Amazon. This product is a canister of percolator-compatible coffee packaged with 24.2 oz of pure coffee grounds. This product has been categorized based on the reviews of lots of people. Since it is good to use medium-dark roast grounds, this product also includes the same.

Percolator iPhone4 APP Provant Percolator Aqui la original… Flickr
Use warm, soapy water: To clean your percolator, use warm, soapy water. Unplug your percolator and take it to the sink. Fill the water basin with warm water and a few drops of dish soap. Swirl the soapy water around and use a sponge to quickly wipe down the interior, then rinse it out until the water runs clear.

How to Use a Coffee Percolator A Step by Step Guide
Faberware 12-cup Percolator: This model brewed weak and bitter coffee, and its stubby spout was tricky to pour from. Cuisinart 12-cup Percolator: Another poor performer, this model had issues brewing if the metal tube and brew basket weren't aligned just right. When it did brew coffee, it also was weak and bitter.
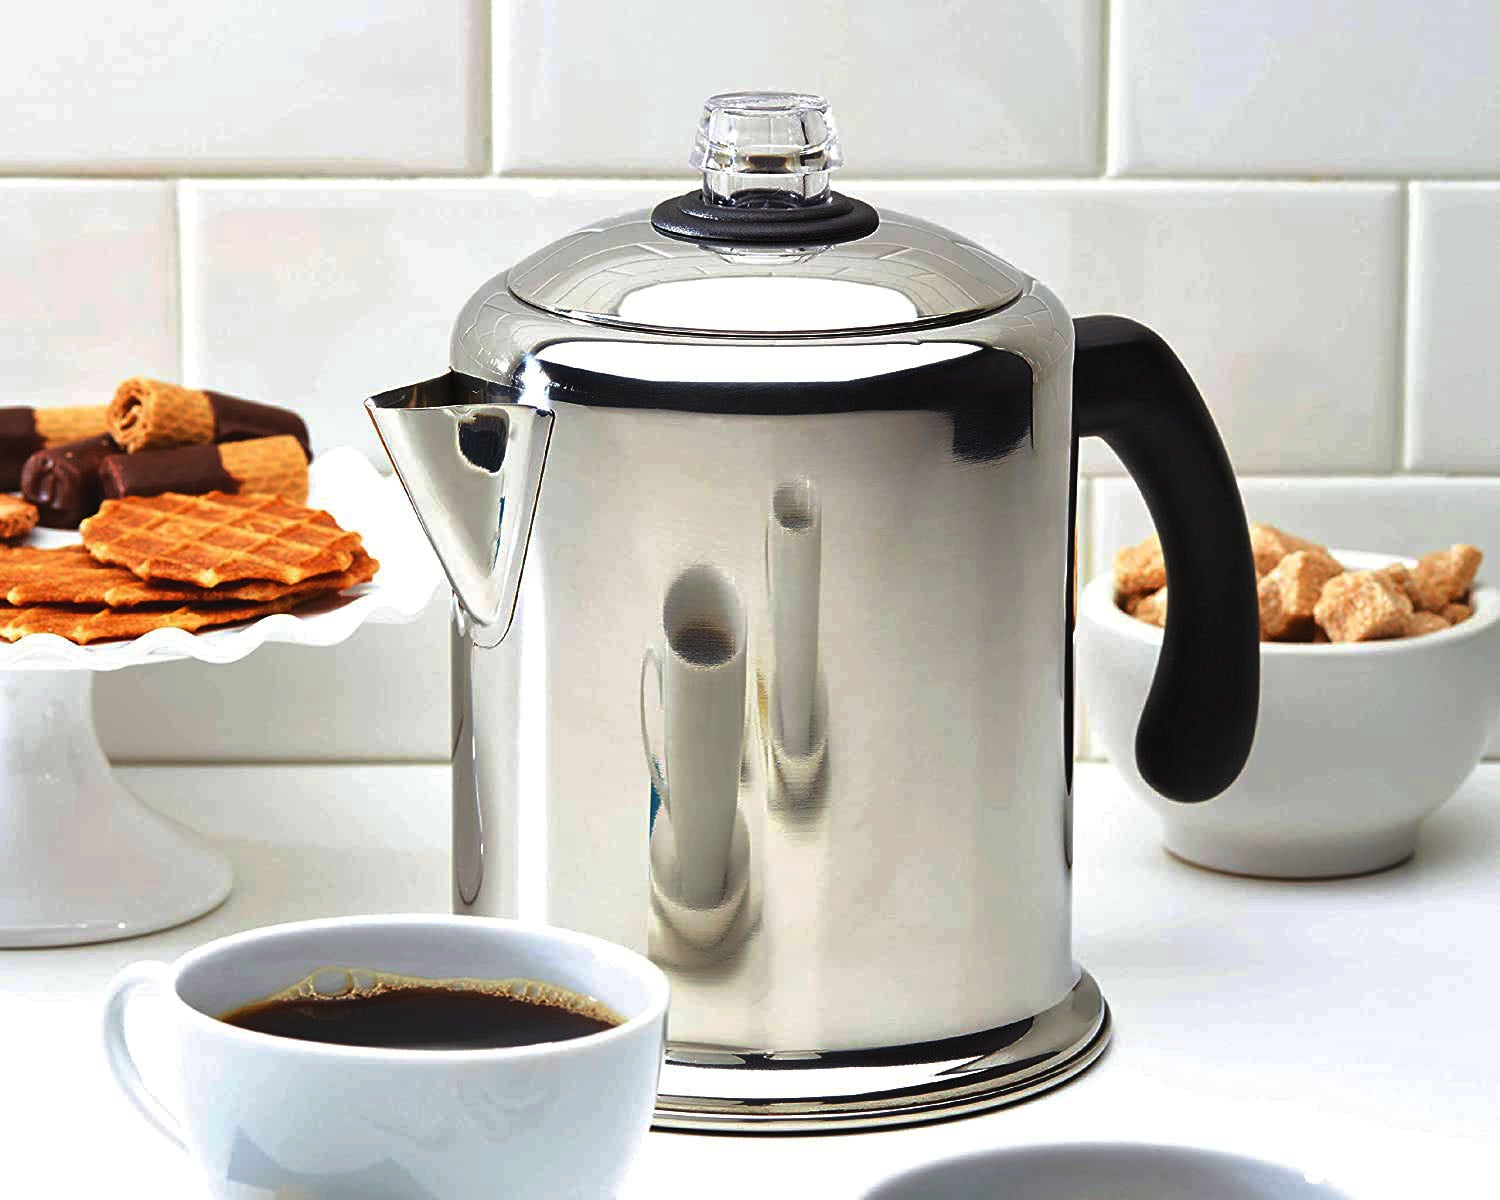
The Best Coffee Percolator Options for the Kitchen Bob Vila
The Stansport 9-Cup Aluminum Percolator Coffee Pot ($19 at Amazon) had a seemingly flimsy construction, a handle that got too hot on the stovetop to hold, and allowed grounds into the final cup.
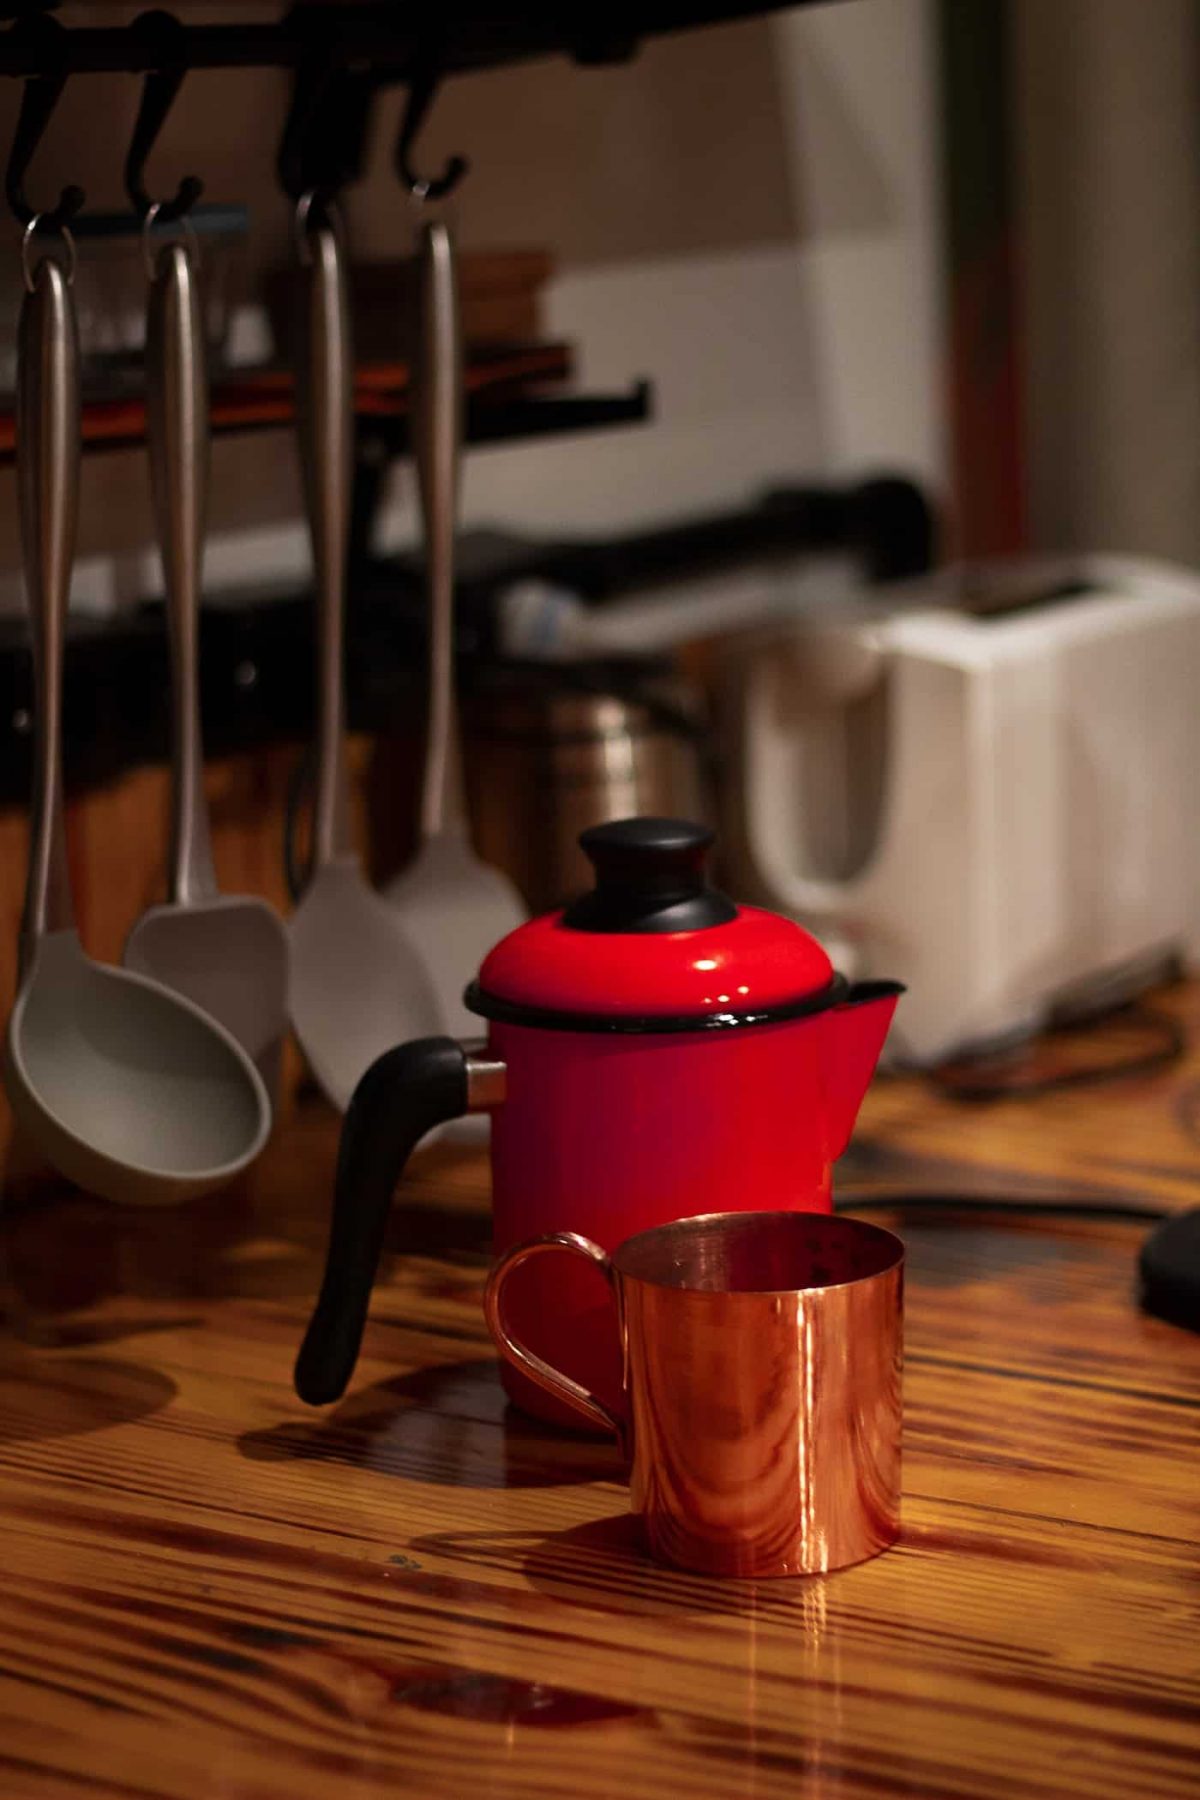
Master the Art of Using a Camping Coffee Percolator Take The Truck
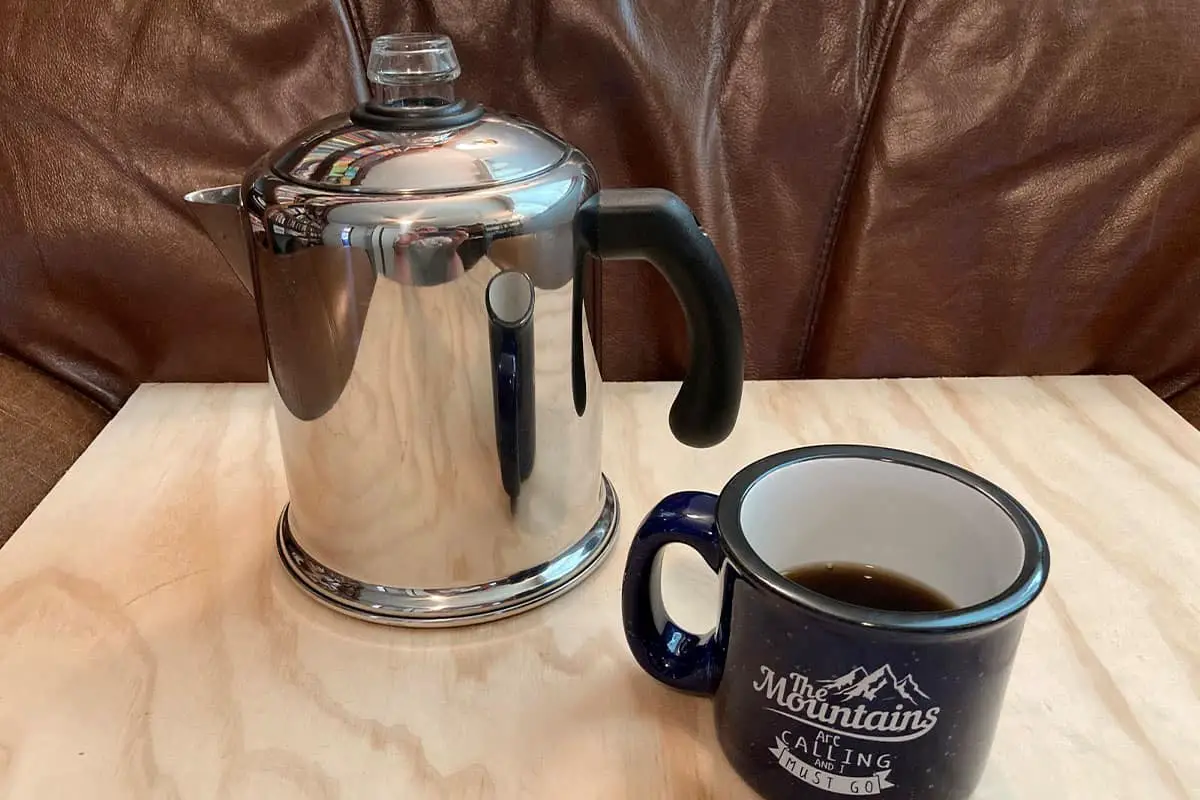
The general rule when using a percolator is 1 tablespoon of coarse-ground coffee for every cup of water. This simple 1:1 ratio should consistently brew a rich and delicious cup of joe. That being said, percolator owners should feel free to experiment with their own coffee-to-water measurements to find the flavor that best suits their taste.

Percolator Percostar 3 DELINGOO
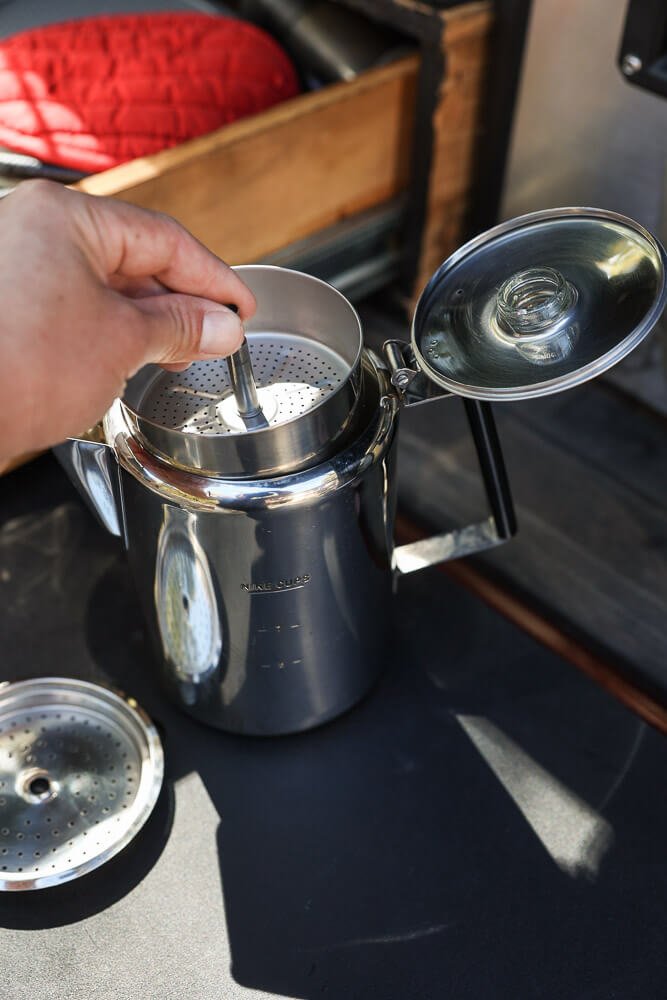
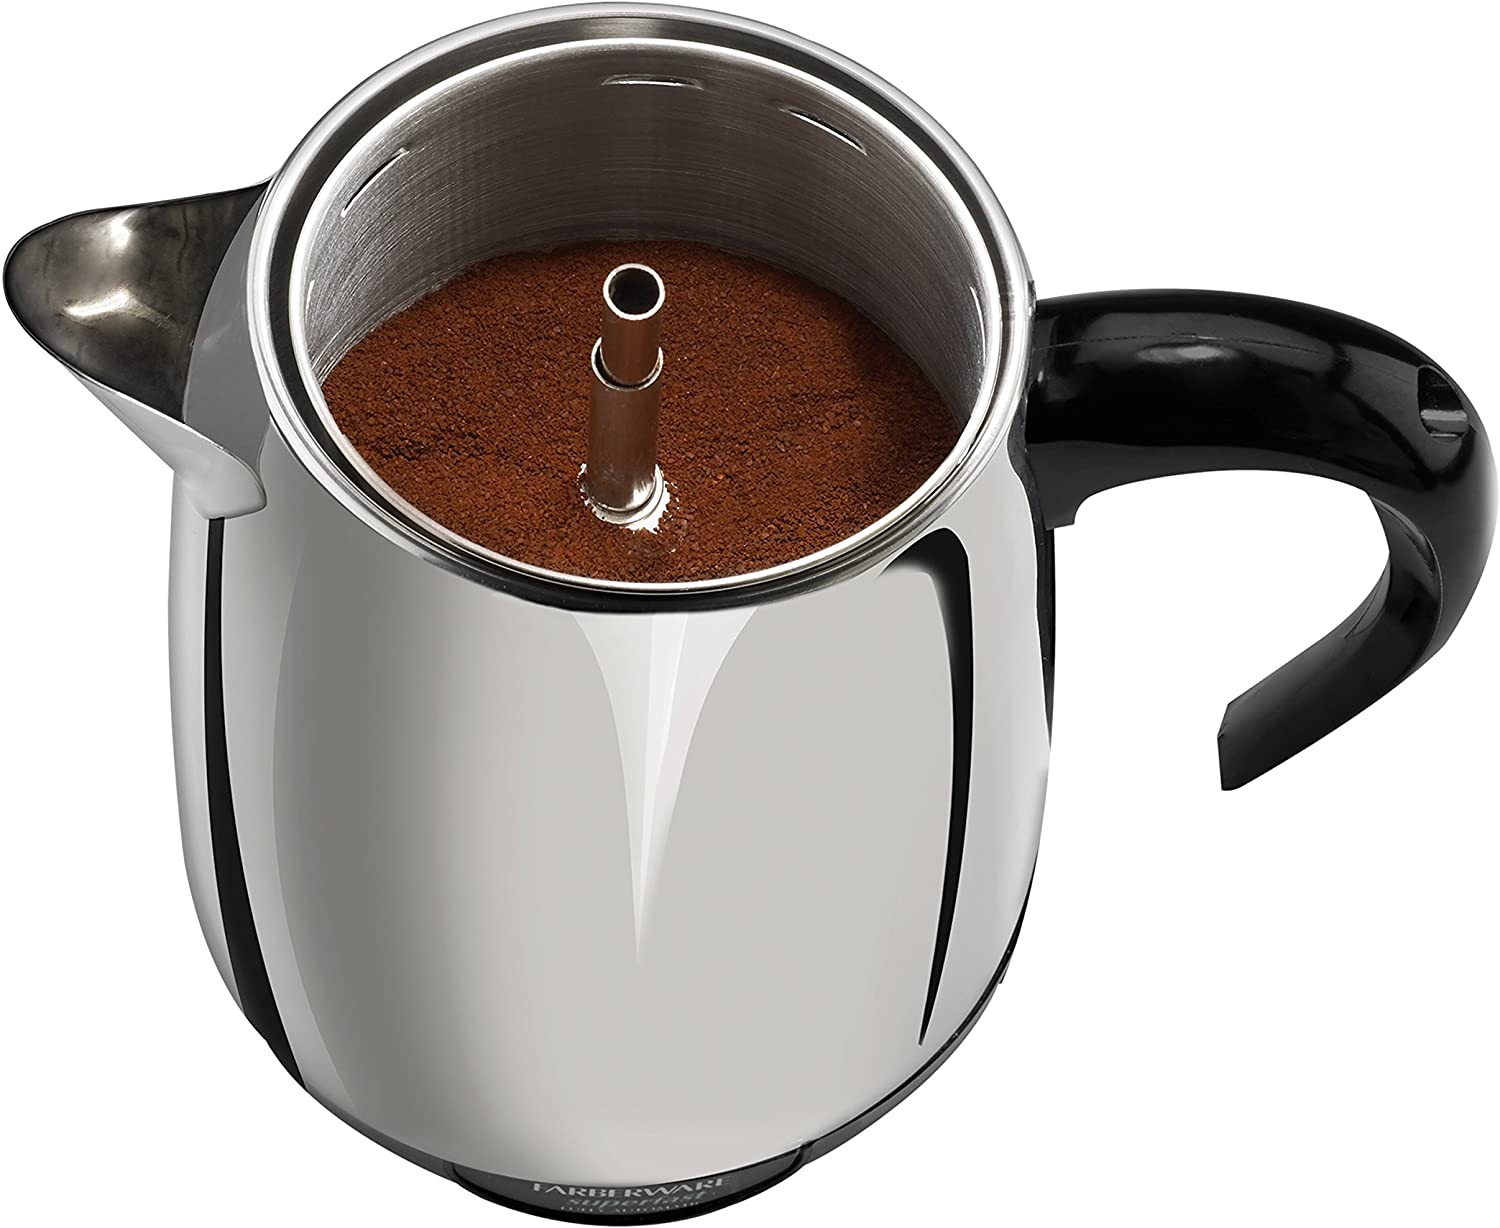
Follow the steps below to minimize spills and ensure brewing success. Step 1: Gather all necessary equipment, including a percolator, measuring scoop, and coffee grounds. Step 2: Slowly and carefully pour the desired amount of coffee grounds directly into the percolator basket.

How To Use A Percolator To Make Coffee On A Stovetop
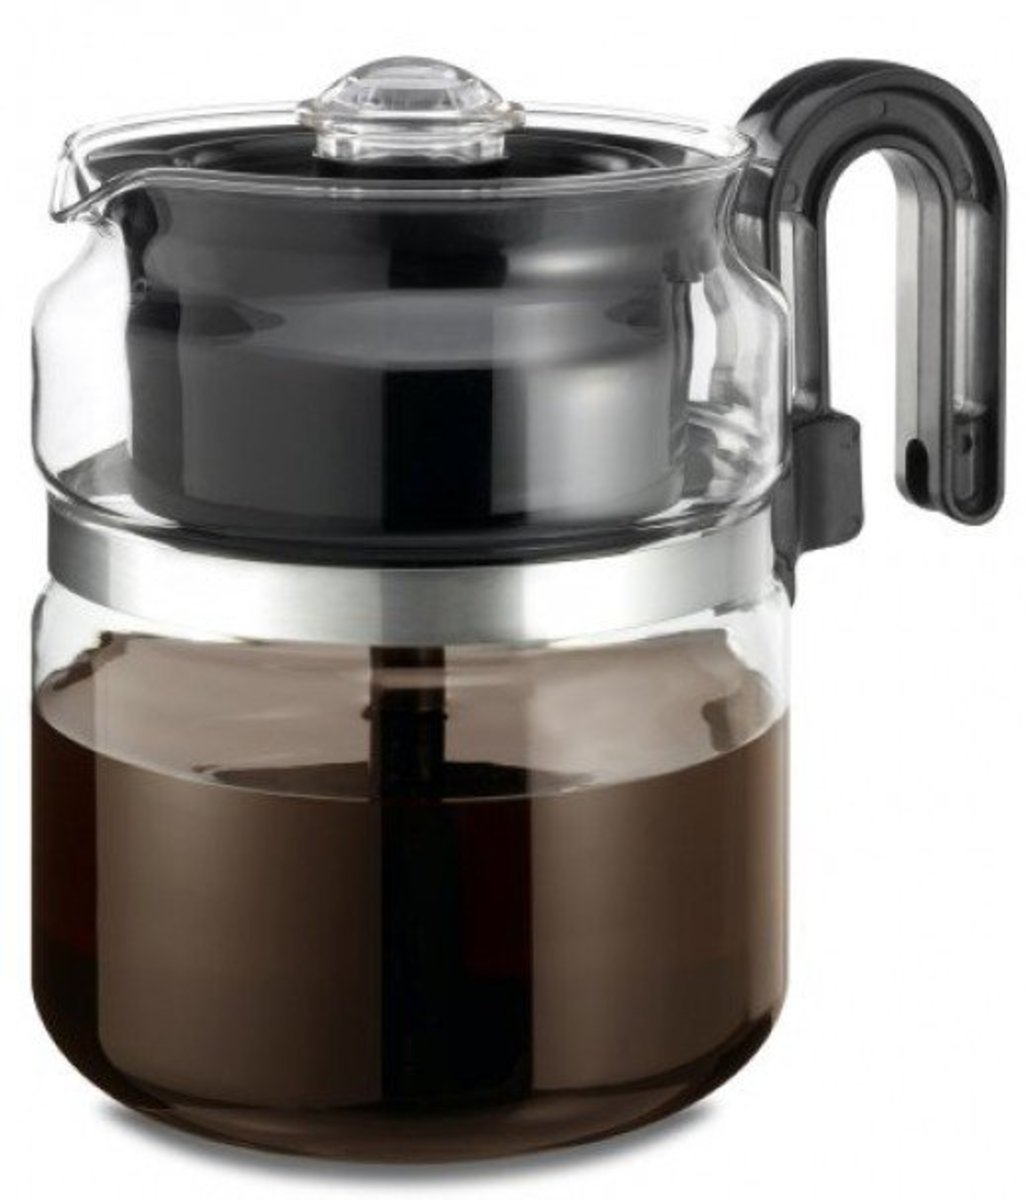
Percolator design. Lastly, the percolator design itself plays a role in extraction. Percolators typically consist of a chamber where water is heated and a tube through which it rises and drips back onto the coffee grounds. This continuous cycle allows for multiple passes of water over the grounds, increasing extraction efficiency.